


For any business, exhibitor and marketeer, the idea of vehicle branding is no longer restricted to the roads; it is instead, about being visible and subsequently staying relevant when and where it matters the most. From exhibition venues and trade show parking zones to pop-up activations and city streets, branded vehicles act as mobile marketing assets that extend your event presence far beyond the show floor. But even the most striking design can fall flat if the decal isn’t applied correctly.
This guide walks you through how to apply car decals the right way, with a practical, promotion-focused approach built for real-world use. From surface preparation to final application, you’ll learn how to achieve a clean, professional finish that holds up over time and reflects the quality businesses expect from BannerBuzz.
Popular Products


Why Proper Decal Application Matters for Event Marketing
In high-visibility environments like trade shows and roadshows, first impressions are formed quickly. Poorly applied decals can peel, wrinkle, or trap air bubbles, reducing brand credibility. A professional finish ensures that your car decals reflect the same attention to detail as your banners, backdrops, and exhibition signage.
Correct application also extends the life of decals, making them suitable for repeated use across multiple events. This is especially valuable for businesses running seasonal promotions or touring exhibitions.
Preparing the Vehicle Surface
Successful installation starts well before the decal touches the vehicle. Surface preparation is critical for adhesion and longevity, particularly for vehicles exposed to outdoor conditions during events.
Car cleaning before decal installation should be done thoroughly using mild soap and water to remove dirt, grease, and residue. Avoid waxes or silicone-based cleaners, as they can interfere with adhesive bonding. The surface must be completely dry before proceeding.
This step is essential whether you’re applying full vehicle decals or smaller promotional graphics, as even minor contaminants can affect the final result.
Choosing the Right Environment for Application
Applying decals in the right environment reduces errors and improves finish quality. A shaded, dust-free area with moderate temperature is ideal. Extreme heat can soften adhesive too quickly, while cold conditions can reduce flexibility.
For businesses preparing vehicles ahead of trade shows, allocating a controlled space ensures consistent results. This preparation is particularly useful when applying multiple car stickers across a fleet for event branding.
Gathering the Right Tools
Using the correct tools makes installation smoother and more precise. Investing in proper equipment reduces mistakes and saves time, especially for businesses managing multiple decals.
Common decal application tools include masking tape, a measuring tape, a spray bottle with water, and a sharp cutter. A squeegee for decal application is essential for pressing the decal evenly and removing trapped air during installation.
Having everything ready before starting ensures a steady workflow and professional finish.
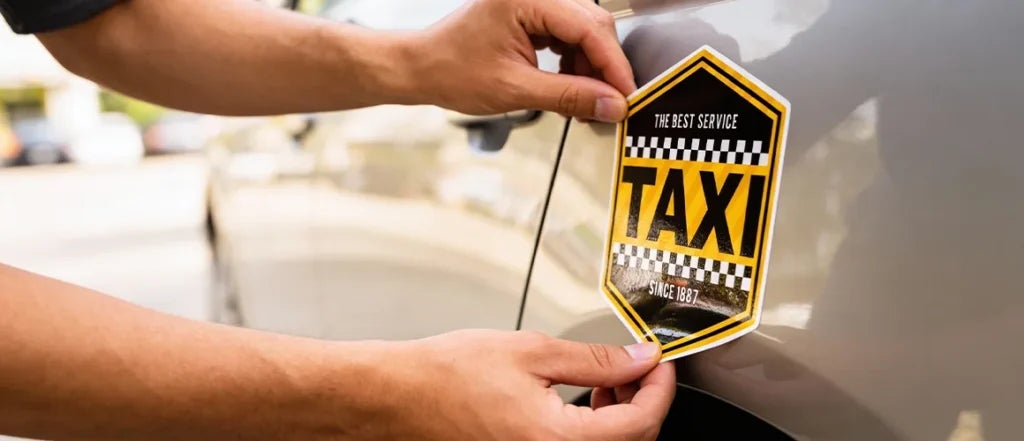
Aligning and Positioning the Decal
Before removing the backing paper, position the decal carefully on the vehicle. Use masking tape to hold it in place and step back to check alignment from different angles. This ensures the graphic is level and visually balanced.
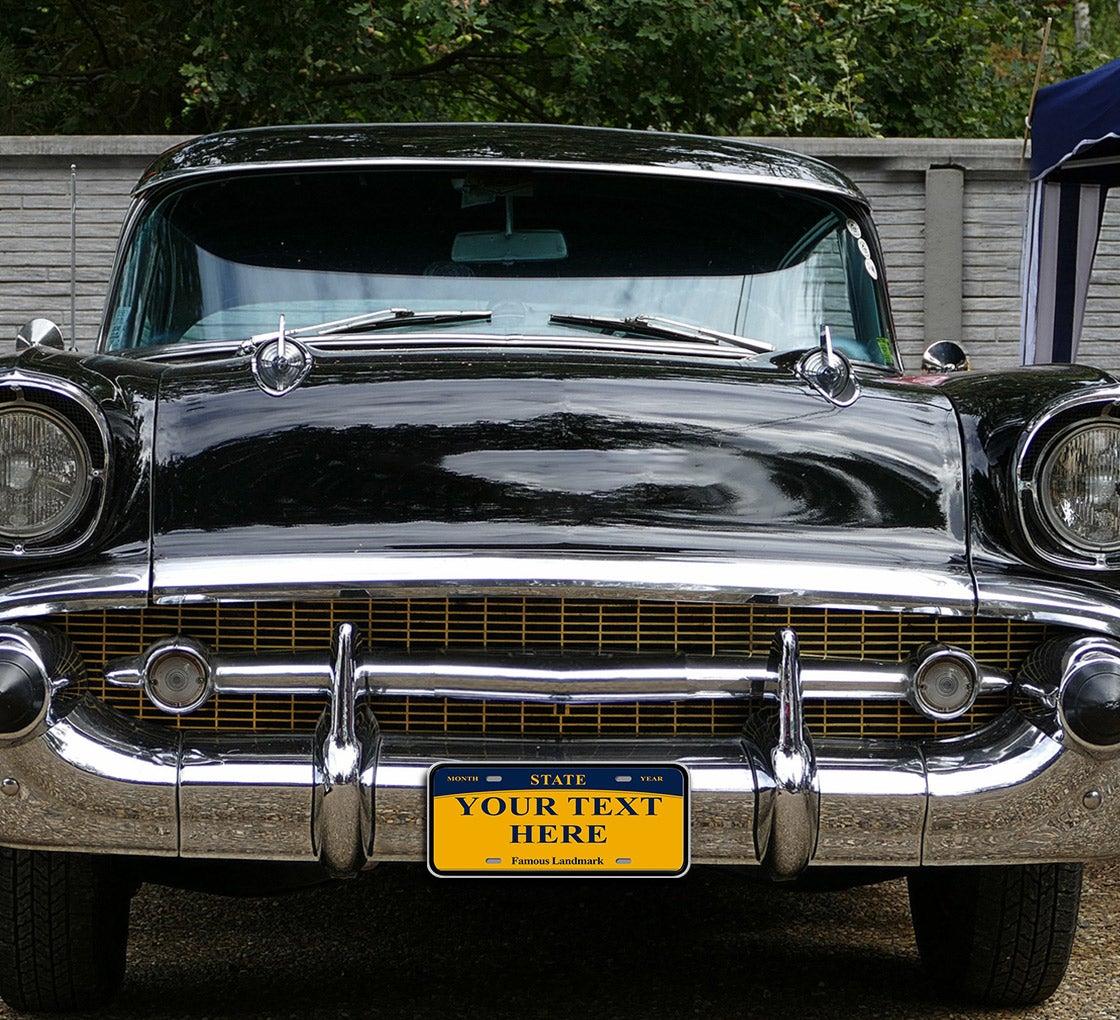
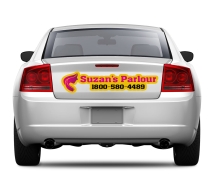
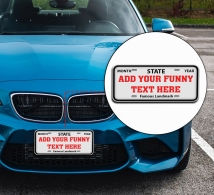
Correct positioning is especially important for branded custom car sticker designs, where logo placement and spacing affect brand perception. Taking a few extra minutes at this stage can prevent costly repositioning later.
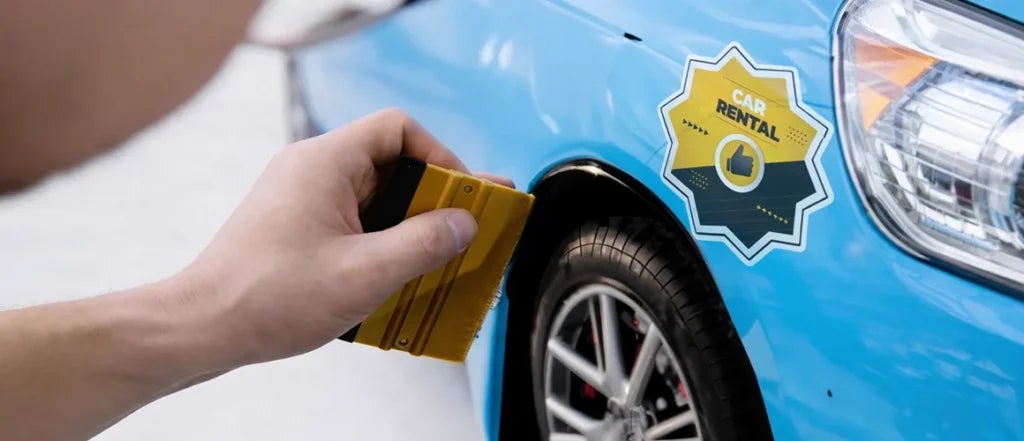
Applying the Decal Smoothly
Once aligned, begin applying the decal slowly from one edge, pressing it onto the surface using a squeegee. Work in small sections, applying even pressure to avoid creases.
This technique supports the best way to install vinyl decals on cars, ensuring strong adhesion and a clean appearance. Rushing this step often leads to uneven application or trapped air.
For larger decals used in event promotions, a second person can help keep the material steady and aligned.
Preventing Air Bubbles During Application
Air bubbles are one of the most common issues during installation. They not only affect appearance but can also weaken adhesion over time.
Learning how to apply decals without air bubbles involves working slowly, maintaining consistent pressure, and smoothing from the centre outward. If small bubbles appear, they can often be pushed to the edge before the adhesive fully sets.
This attention to detail ensures your branding looks polished when vehicles are parked at busy event venues.
Read Also: How are Mobile Promotions Incomplete Without Stickers and Decals
Handling Curves and Edges

Vehicle surfaces are rarely flat, and curves can challenge even experienced installers. When applying decals over curved areas, gently stretch the material and use the squeegee to conform it to the shape.
This is particularly relevant for bumper sticker placement, where curves are more pronounced. Applying gentle heat from a heat gun or hair dryer can help the decal settle smoothly, but care must be taken to avoid overheating.
Post-Application Care
After installation, allow the decal time to set before washing or exposing it to harsh conditions. Ideally, vehicles should remain dry for at least 24 hours.
This waiting period helps the adhesive bond fully, which is important for long-term use of car window sticker designs and other promotional graphics. Regular cleaning with non-abrasive products helps maintain appearance throughout event seasons.
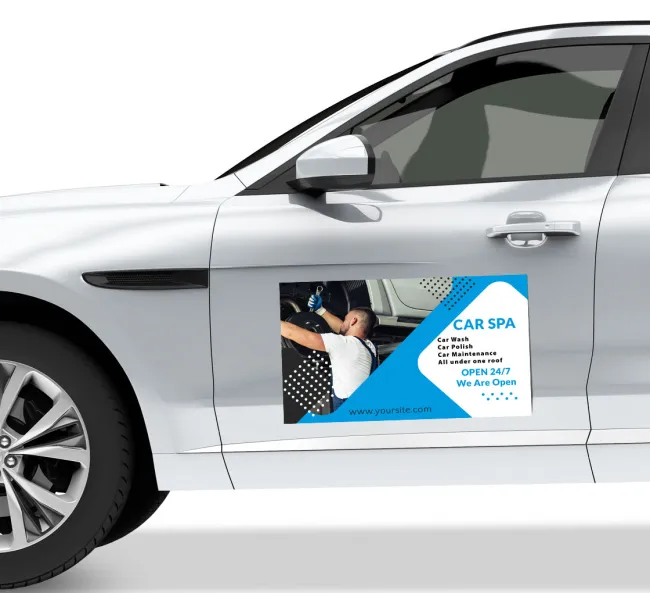
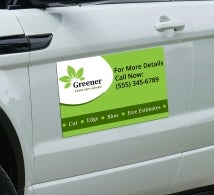
Special Considerations for Magnetic Signs
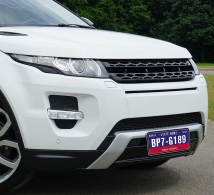
Some businesses prefer car magnetic signs for temporary promotions or rotating campaigns. These require a different approach, as they are not adhesive-backed.
Magnetic signs should be applied to clean, flat metal surfaces and removed regularly to prevent moisture build-up. While they offer flexibility, they still benefit from careful placement to maintain a professional look at events.
Applying Decals as a DIY Project
Many businesses choose to handle installation in-house, especially for small-scale campaigns. A well-planned DIY car decal installation guide approach saves costs while maintaining quality.
By following a structured process and using proper tools, teams can achieve results comparable to professional installers. This is particularly useful for exhibitors managing tight schedules before trade shows.
Step-by-Step Installation Overview
For clarity, here is a simplified step-by-step guide to applying car decals that works well for promotional use:
- Clean and dry the vehicle surface thoroughly
- Measure and align the decal before application
- Secure placement with masking tape
- Apply slowly using a squeegee from one side
- Smooth out bubbles and edges carefully
- Allow time for the adhesive to set
This process ensures consistency across multiple vehicles and decals.
Final Thoughts: Professional Results for Event Branding
Correctly applied decals enhance the impact of vehicle-based marketing, turning everyday transport into effective promotional assets. For businesses, exhibitors, and marketers, this attention to detail supports brand consistency across trade shows, events, and on-the-road promotions.
When installed properly, car decals and related graphics become durable, eye-catching tools that complement banners, displays, and booth setups. By following best practices and using the right tools, you ensure your vehicle branding reflects the same quality and professionalism as the rest of your event marketing strategy.
Written By BannerBuzz NZ Editorial Team.